I accidentally formatted my Seagate Backup Plus external hard drive and lost important files, including photos, documents, and backups. I’m trying to figure out the safest way to recover data from a formatted Seagate Backup Plus without overwriting anything or making recovery harder.
First thing: stop messing with the drive for now. Don’t copy anything to it, don’t format it, and don’t keep reconnecting it over and over hoping Windows suddenly figures it out. If the file system went RAW or files were deleted, the data may still be sitting there, but the drive can mark that space as reusable. The more the drive is powered on and being accessed, the more chances there are for something to overwrite what you’re trying to recover.
Do a quick check before you try software. Listen to the drive. If it’s clicking, grinding, spinning up and down repeatedly, or making some loud awful noise, that points more toward physical failure. In that case, recovery software probably isn’t the answer. Check Seagate’s Rescue Data Recovery Services first, especially if it’s a Backup Plus model, because some of them include recovery coverage for a limited time under the warranty. It’s worth checking the serial number before assuming you’re stuck paying out of pocket.
If it sounds normal but Windows won’t show your files, or it pops up with “you need to format the disk before you can use it,” that’s usually more of a logical problem. Annoying, but better than a dead drive. The data may still be there, while the file system or partition info is what got damaged.
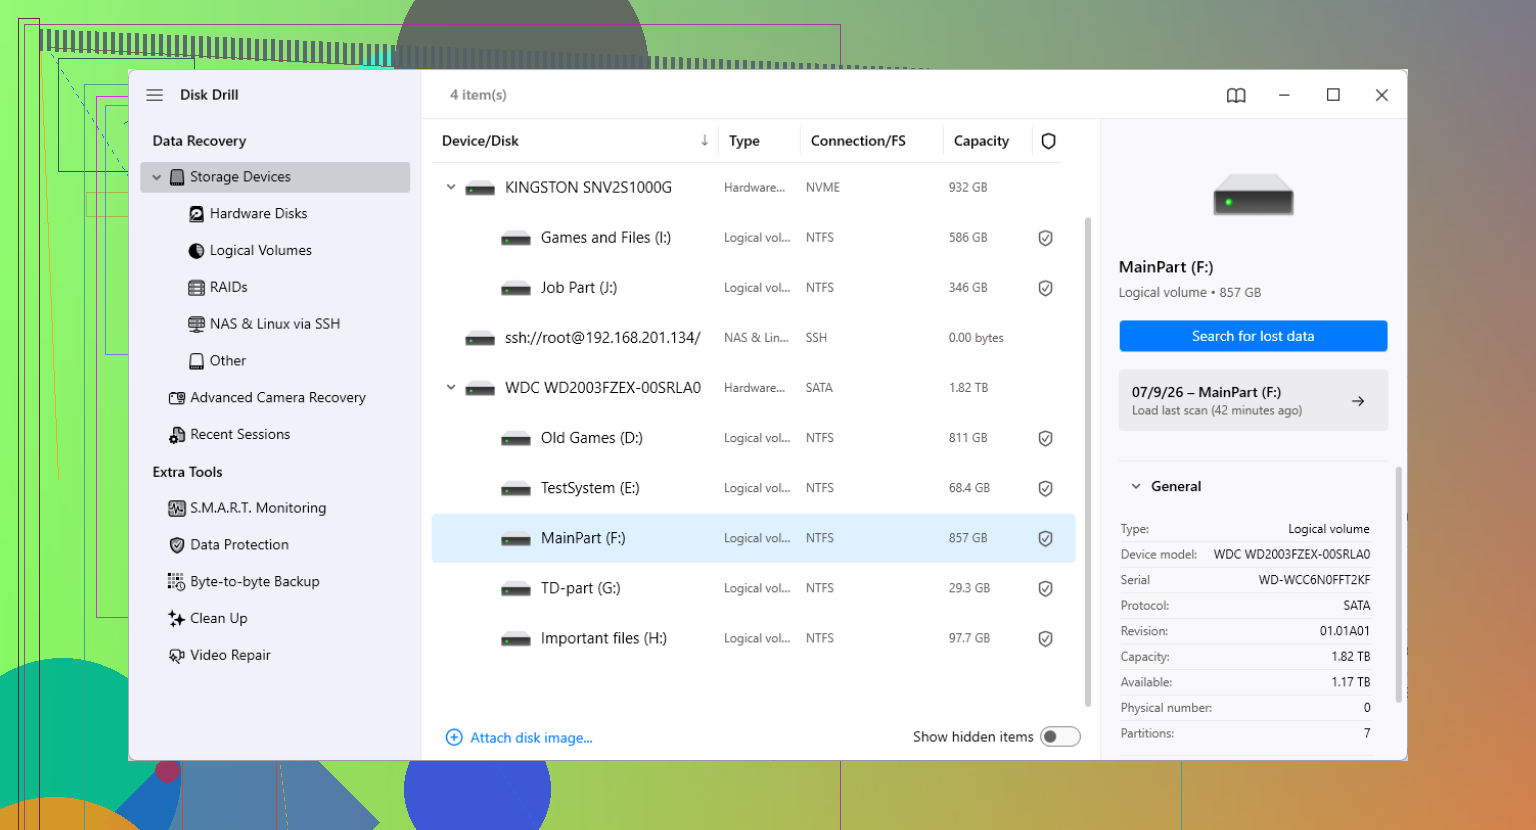
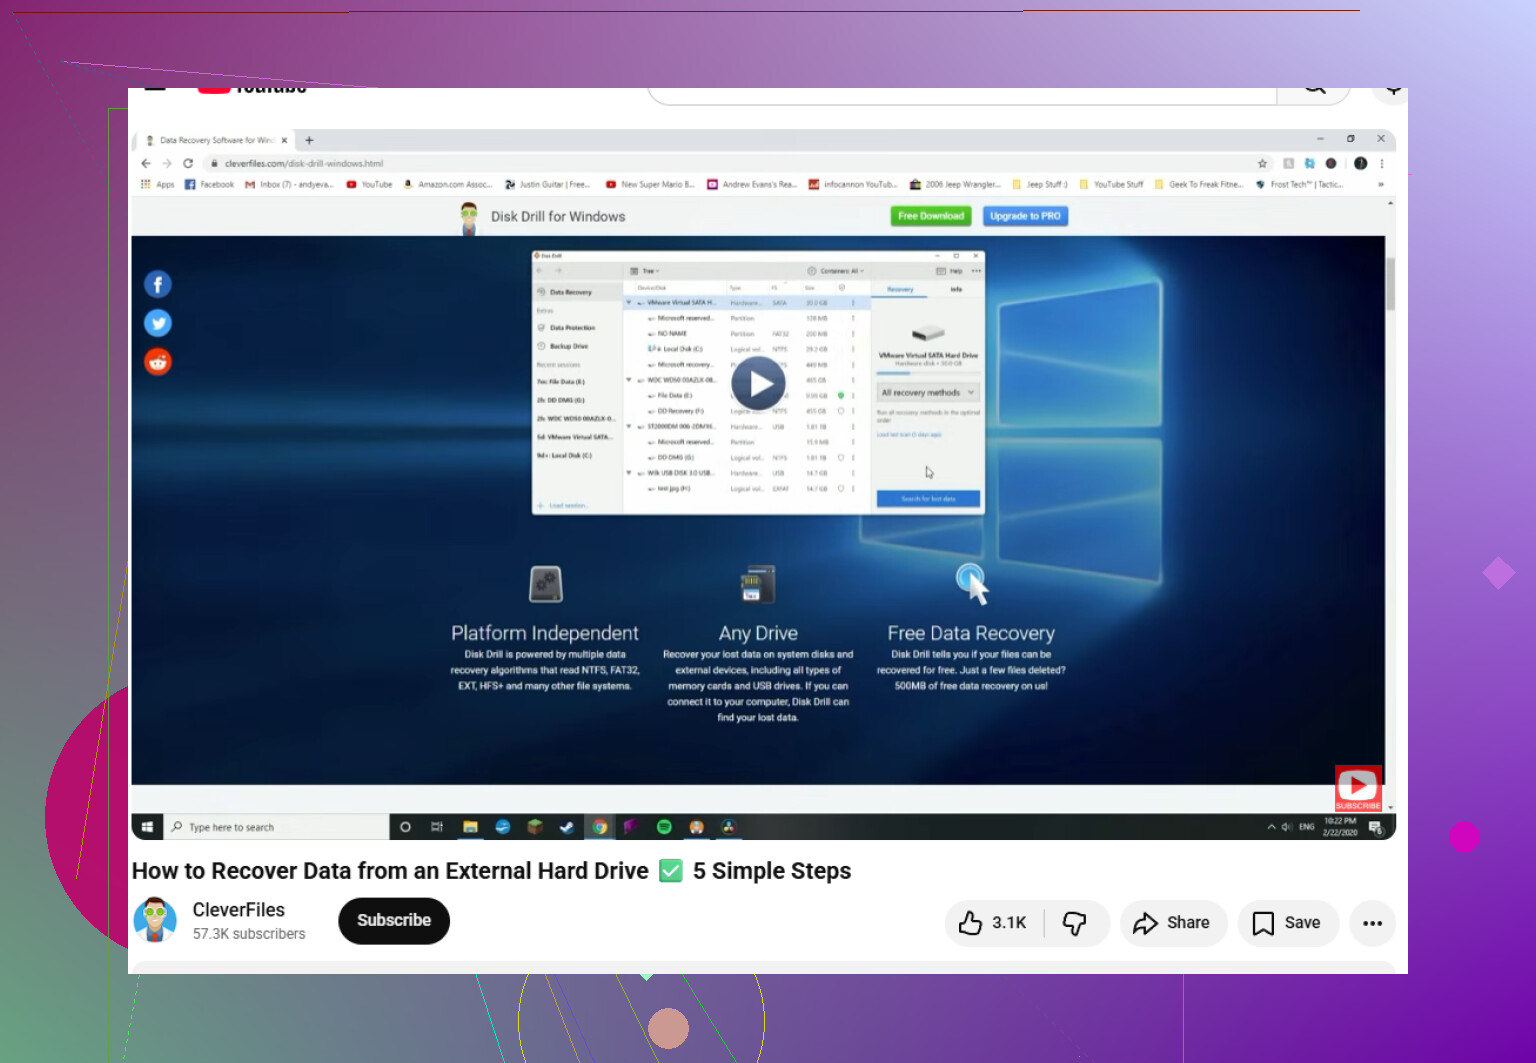
For a DIY recovery attempt, I’d usually start with Disk Drill. I’ve used a few recovery tools, and it’s a decent pick for this kind of Seagate issue, especially RAW partitions from drives that were unplugged without being safely ejected.
Here’s the safer way to go about it:
- Install the software somewhere else. Don’t install Disk Drill, or any recovery tool, onto the Seagate drive you’re trying to recover. Put it on your main C: drive or another external drive.
- Make a byte-to-byte backup if the drive seems unstable. Disk Drill has a Byte-to-byte backup feature in its extra tools. If the drive is flaky, make a disk image first instead of hammering the physical drive with a long scan. After that, unplug the Seagate and scan the image file. That puts a lot less stress on the actual hardware.
- Use a good USB cable. If you scan the drive directly, try a solid cable, preferably one you know works. Bad or loose USB cables can make a drive look like it’s failing when it’s really just dropping connection.
- Preview files before recovering everything. When the scan starts finding files, check the preview option. If a photo or document previews correctly, that’s a good sign it can be recovered properly.
- Recover to a different drive. Never save recovered files back onto the same Seagate drive. Use your internal drive or another external with enough free space.
If the recovery software doesn’t show the drive, open Disk Management in Windows. If the drive appears there with the correct size, like 2TB or 5TB, recovery software may still be able to read past the broken file system and pull files from it.
After you get the data back, don’t immediately trust that drive again. Download SeaTools from Seagate and run the Long Generic Test. If it fails, retire the drive. If it passes, you can format it and reuse it, but I’d still keep another backup going forward.
Large external drives can take a long time to scan, so don’t be surprised if this turns into an overnight job. As long as the drive is still spinning normally and showing up with the right capacity, you’ve got a decent shot at getting the files back.
If you did a full format instead of a quick format, the odds are a lot worse. A quick format usually just rebuilds the file system structures and leaves most file contents sitting there until something overwrites them. A full format can write across the volume, and if that happened, recovery software may only find folder names, fragments, or nothing useful.
The other detail that matters is what was on the drive before. If it was a normal NTFS/exFAT Seagate Backup Plus used for loose files, scanning it with something like Disk Drill or another recovery tool is reasonable, as long as you save recovered files somewhere else. If it was used by Windows File History, Mac Time Machine, Seagate Toolkit, or any encrypted backup setup, don’t expect the results to look like a neat copy of your old folders. Backup databases can recover messily, and encrypted containers are basically all-or-nothing.
I’d avoid “fixing” the drive before recovery. Don’t run chkdsk, don’t initialize it, don’t create a new partition, and don’t let Windows “repair” it. Those tools are meant to make the drive usable again, not preserve deleted data. If the files are really important, clone/image the drive first and scan the image. If they’re replaceable and you’re just trying your luck, scan the Seagate directly, recover the important stuff first, then worry about testing and reformatting the drive later.
If you formatted it and then installed backup software or started a new backup onto the same Seagate, that changes the answer a lot. The format itself may not have destroyed the old files, but anything written afterward is the real killer. A fresh Time Machine backup, File History run, or Seagate Toolkit job can chew through a huge amount of free space and overwrite exactly the stuff you want back.
I agree with the “don’t repair it” advice above, but I’d separate two risks that often get mixed together. Reading the drive is not what overwrites your files. Writing to it is. So opening Disk Management or running a read-only scan is usually not the dangerous part. The dangerous part is clicking format again, letting Windows “fix” it, saving recovered files back to the same drive, or letting backup software resume using it.
A practical thing people forget: you need another drive with enough room before you start recovering. If this is a 4TB or 5TB Backup Plus and you want photos, documents, and backups, recovering to your laptop’s internal SSD probably won’t work unless you only need a small set of files. Recovery software may find duplicates, old deleted files, partial files, and files with no original names. That can take more space than you expect. Have a second external drive ready.
If the old data was just normal folders, like:
Photos
Taxes
Work Docs
Videos
Random ZIP files
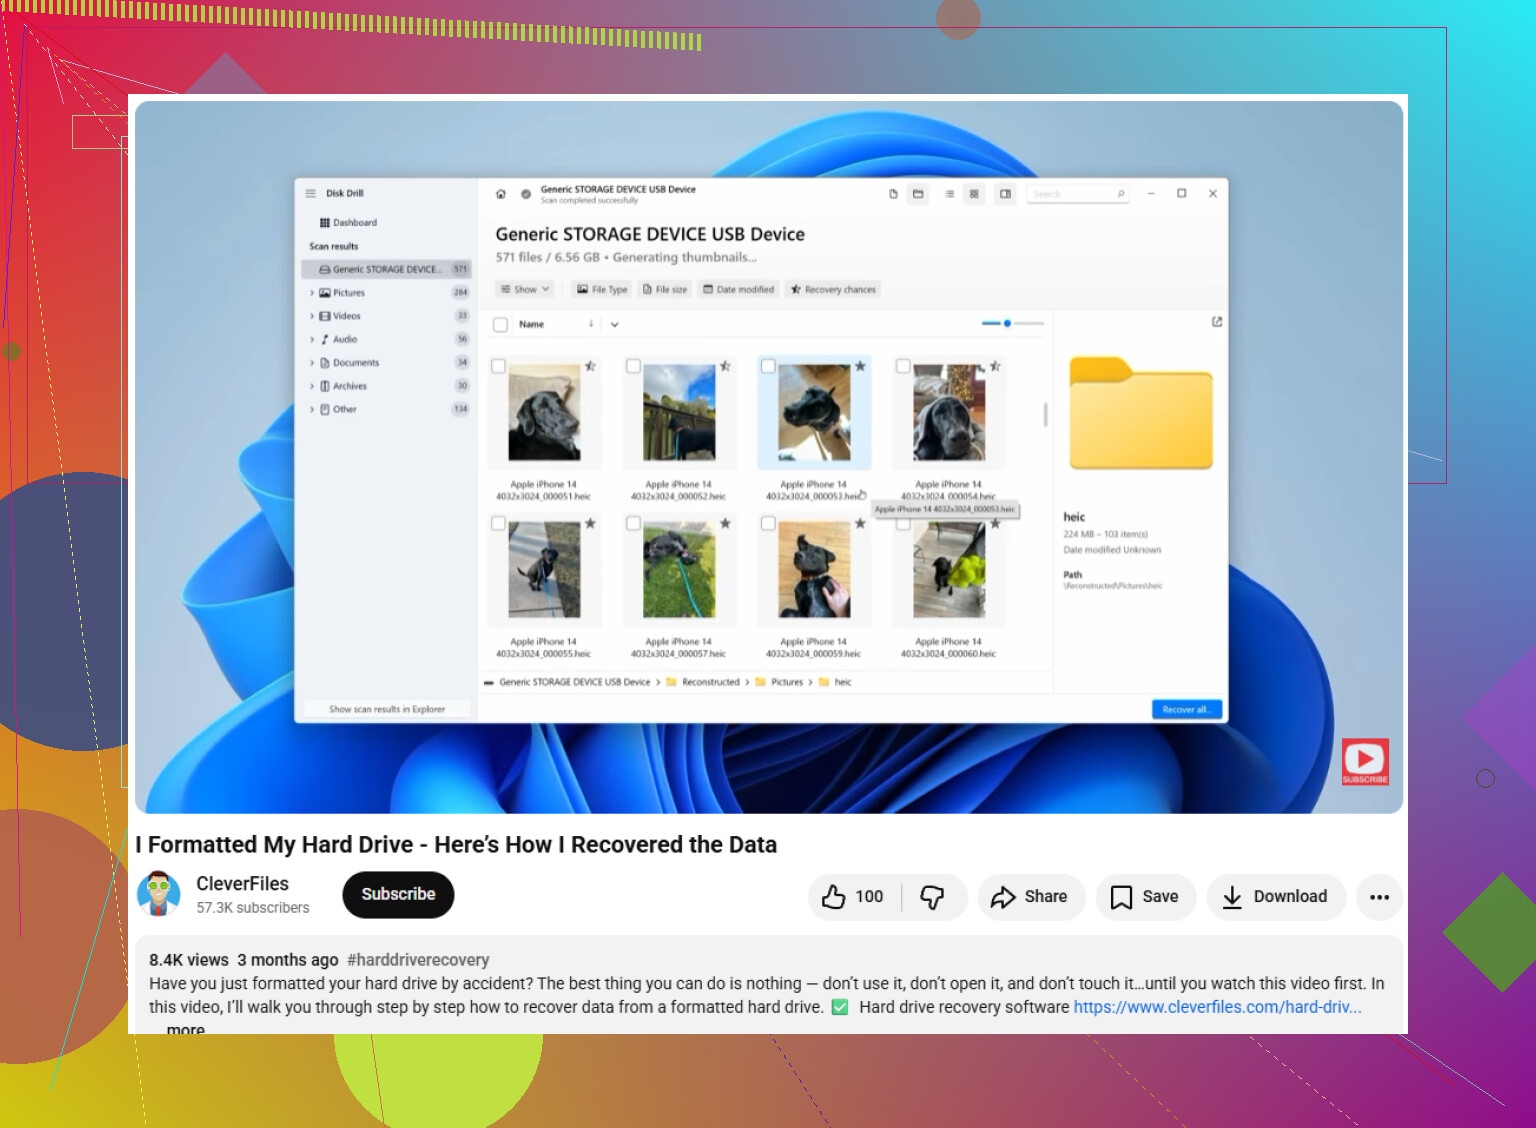
then a tool like Disk Drill, R-Studio, DMDE, UFS Explorer, etc. has a reasonable job to do. Disk Drill is fine for a less technical user because previewing files is straightforward, but don’t judge success only by the first list of “found files.” After a format, you may see multiple result sections: existing file system, lost partition, reconstructed files, and raw files. The original folder tree, if found, is usually more useful than a giant pile of JPG000123 files.
If it was a backup drive, expectations need to be lower. Time Machine, File History, image backups, and app-specific backup sets are not the same as loose files. You might recover chunks of the backup, but restoring from it like nothing happened can be a mess. In that case, I’d focus on recovering the actual irreplaceable files first, especially photos and documents, rather than trying to rebuild the whole backup system perfectly.
Small but important caveat: don’t rename, repartition, or “convert” the drive before scanning. Some people try to make the drive visible again first, then run recovery after that. That is backwards. Recovery comes first. Making the disk usable again comes later.
My order would be:
- Unplug the Seagate until you have a recovery destination ready.
- Disable any backup app that might automatically write to it when plugged in.
- Plug it in once, using a stable cable and port.
- If it shows the correct size, make an image/clone if the data matters enough.
- Scan the image, or scan the drive read-only if you accept the risk.
- Preview a few files before paying for or starting a huge recovery.
- Recover only to a different disk.
- After recovery, test the Seagate before reusing it.
The preview step matters more than people think. A recovery result that lists 80,000 files is not automatically a successful recovery. If your JPEGs preview, your PDFs open, and a few Office documents look normal, that’s a good sign. If names appear but previews fail, you may be looking at old directory records without usable file contents.
For photos specifically, raw signature recovery can still save a lot even when the folder structure is gone. The annoying part is sorting them afterward. Dates may come from EXIF metadata if the camera stored it, but file names and folder names might be generic. For documents, it’s less forgiving. Fragmented Office files, databases, catalogs, and backup archives often recover worse than simple photos and videos.
If the drive makes strange noises, disappears mid-scan, drops to 0 bytes, or freezes the whole computer when connected, I’d stop the DIY route. At that point a long scan can make a weak drive worse. But if it sounds normal and shows the right capacity, then yes, recovery software is a reasonable first attempt.
The short version: don’t try to “undo” the format on the Seagate itself. Treat it like evidence. Copy data off it, don’t change it, and don’t expect the recovered result to look perfectly organized. The sooner you stop writes and start recovering to a separate disk, the better your odds.
If the Backup Plus was password-protected with Seagate Secure, BitLocker, or used as an encrypted Time Machine disk, the recovery plan is different. In that case, the “photos and documents are still sitting there” idea may not apply in the simple way people expect. The files may still exist physically, but recovery software might only see encrypted data unless the old encryption metadata and the password/recovery key are still usable.
For a normal unencrypted Seagate that was quick formatted, I’d agree with the others: stop writing to it and recover to a different disk. But I would not start by trying every random “undelete” button you find. Run a scan that can search for the old file system first. If the tool finds the previous NTFS, exFAT, HFS+, or APFS structure, that is usually much better than raw recovery because you may get folder names, file names, and dates back. Raw recovery is the fallback, and it can leave you with thousands of files named things like file000847.jpg.
Disk Drill can be fine for this because the preview is easy to understand, but don’t pay attention only to the big number of found files. Check boring stuff too: a few older photos, a PDF, a Word document, maybe a zip file if you had any. Photos can preview even when other files are junk, so don’t use only JPGs as proof that the whole recovery worked.
A small trap: if you formatted it from Mac to Windows or Windows to Mac, don’t assume the computer that can currently “see” the new empty drive is the best place to recover the old data. The old file system matters more than the new one. If it used to be a Mac backup drive, scan with software that understands Mac file systems. If it used to be NTFS/exFAT, Windows tools are usually more straightforward.
And don’t try to restore the recovered data back into a backup program right away. Pull out the actual files you care about first: photos, documents, project folders, tax stuff, whatever is irreplaceable. After that, you can worry about whether the old backup set is usable. A recovered backup archive that looks complete but fails verification is a very annoying way to find out you saved the wrong thing.