My Windows 10 PC started freezing, and now one of my hard drives shows errors and some files won’t open. I’m worried the drive is corrupted and I don’t want to lose important data. What are the safest ways to repair a corrupted hard drive in Windows 10 or recover files before it fails?
I’d treat this as a recovery job first, not a repair job.
If Windows 10 still sees the HDD in Disk Management and the capacity looks right, that’s a good sign. It usually means the drive isn’t totally dead. It could just be file system or partition corruption, especially if it happened after a bad shutdown. But don’t start clicking “format” or running repair commands yet.
The main things to avoid at the beginning:
- Don’t format it, even if Windows asks.
- Don’t run CHKDSK right away.
- Don’t copy new files onto the drive.
- Don’t install recovery software on that same damaged drive.
Anything that writes to the disk can make recovery harder. CHKDSK in particular can change the file system while it’s trying to fix it, so I’d only use it after the important stuff is already copied somewhere else.
Check whether the drive is actually healthy
Before doing a long scan, check the drive’s SMART status. SMART can give you a rough idea of whether the HDD is failing physically or just has logical corruption.
Tools that can read SMART data include:
- CrystalDiskInfo
- Disk Drill
- Victoria
If the drive shows as Good, that’s encouraging. If you see a lot of Reallocated Sectors, Pending Sectors, or Uncorrectable Sectors, be careful. The drive may be dying, and repeated scans can make things worse.
Get the files off before fixing anything
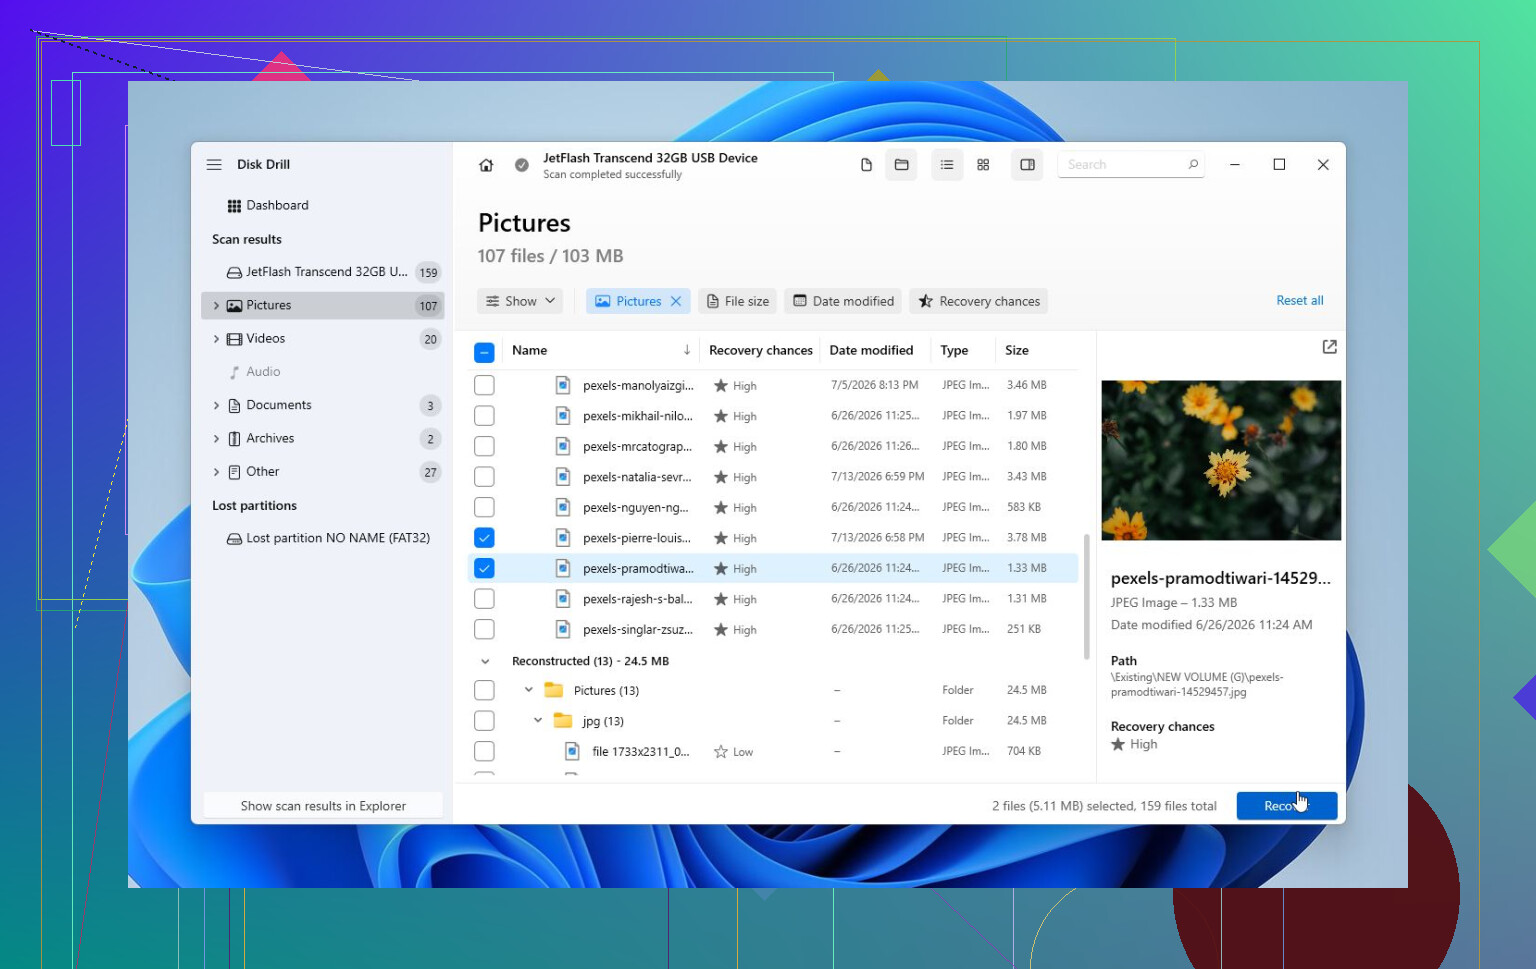
This is the part I’d focus on first. In a similar situation, I used Disk Drill because it let me make a full image of the HDD before scanning. That matters because you can scan the image instead of hammering the original drive over and over.
The basic order would be:
- Install Disk Drill on a different drive.
- Create an image of the problem HDD.
- Open that image in Disk Drill.
- Run Universal Scan.
- Preview the found files.
- Recover them to another drive, not the damaged one.
The preview feature is useful because you can check whether files actually open before spending time recovering everything. The Windows version also gives you up to 100 MB of free recovery, so you can test whether it’s finding usable files before buying anything.
Then try repairs
Once your important data is safe, then it makes sense to work on the drive itself.
For Windows 10, I’d usually go in this order:
- CHKDSK if Windows still shows a normal file system. It can fix file system errors, but again, it writes changes to the drive.
- TestDisk if the partition shows as RAW or the partition table seems damaged. Sometimes it can restore access without formatting.
- Format the drive if recovery is done and nothing else works. A quick format will create a new file system and can clear logical corruption. If problems come back after that, I wouldn’t keep trusting the HDD.
Stop if it looks like hardware failure
I wouldn’t keep trying DIY scans or repairs if the drive:
- clicks or grinds,
- vanishes from Disk Management,
- shows the wrong capacity,
- disconnects during scans,
- or has lots of bad-sector warnings in SMART.
At that point, it’s probably a physical problem. A recovery lab is the safer route because they can deal with damaged electronics or internal parts, image the drive with proper hardware, and recover files from the copy instead of the failing disk.
Professional recovery costs more than software, of course. Logical recovery cases often start around $300–600, while drives with physical damage can land around $800 to over $2,000, depending on what’s wrong. Many labs do have a “no data, no fee” policy, so you usually only pay if they recover useful files.
So yeah, if Disk Management still sees the HDD and the size is correct, I’d take that as a decent sign. Check SMART, recover the important files first, and only then try CHKDSK, TestDisk, or formatting. That order gives you the best shot at saving the data without making the situation worse.
Do not expect Windows to “repair” a shaky drive without some risk, because even a normal copy attempt can freeze the machine if the disk is throwing read errors. Before running tools, I’d shut it down and check the boring stuff: try a different SATA/USB cable, different port, and avoid cheap USB hubs or enclosures if this is an external drive. A bad cable can look a lot like corruption. If the drive behaves the same, copy only the irreplaceable files first, not the whole drive in one giant drag-and-drop, because one bad folder can stall the entire transfer. After that, I agree with @mikeappsreviewer that imaging or scanning with something like Disk Drill makes more sense than letting CHKDSK “fix” things blindly. CHKDSK is fine later, but it is not a recovery tool. If the files matter more than the drive, treat the drive as disposable until your data is somewhere else.
A drive with a damaged file system and a drive with dying hardware can behave exactly the same in Windows for a while, but the safe move is different. If this is only a bad file system, repair tools may get it mountable again. If the drive is physically failing, every boot, scan, thumbnail preview, antivirus pass, and failed copy attempt can chew up the remaining readable time.
I mostly agree with the “recover first, repair later” advice above, but I’d be stricter about where you run the work from. If this problem drive is the Windows system drive, stop booting from it if you can. Pull it and connect it to another PC as a secondary drive, or boot the machine from a different SSD/USB environment. Windows constantly writes logs, indexes files, updates metadata, touches the pagefile, and tries to “help” in the background. That is not what you want on a questionable disk.
If it is a secondary drive, I’d disconnect it until you’re ready to deal with it. Don’t leave it plugged in for days while Windows keeps freezing and retrying reads.
For a quick triage, I’d check three boring things before doing anything clever:
- Does Disk Management show the correct size?
- Does SMART show pending, reallocated, or uncorrectable sectors?
- Does the drive make new clicking, grinding, spin-up/spin-down, or disconnect sounds?
Correct size and no ugly noises is at least workable. Wrong size, disappearing drive, or mechanical noises means stop. That’s when DIY software becomes a gamble.
A caveat on SMART: a “Good” label is not a guarantee. It just means the drive has not crossed the tool’s warning threshold. I’ve seen people treat that green status like a health certificate, and it really isn’t. Look at the actual raw attributes, especially Current Pending Sector Count, Reallocated Sector Count, and Uncorrectable Sector Count. If those are climbing, don’t waste time trying every repair trick you find online.
For copying files, don’t use Windows Explorer if the drive is hanging. Explorer is terrible with bad reads because it can sit there forever on one file and make it look like the whole machine died. If the data is not worth paying a lab for but you still want a practical attempt, use a tool that skips bad files and keeps going. robocopy can do that better than drag-and-drop.
Example idea, assuming the bad drive is E: and the safe destination is F:\Recovered:
robocopy E:\ F:\Recovered /E /R:1 /W:1 /COPY:DAT /DCOPY:DAT /XJ
That tells it to copy folders, retry only once, wait one second between retries, and avoid junction loops. It is not a magic recovery tool, and it will not fix damaged files, but it is less annoying than Explorer when one bad movie file or old ZIP archive freezes the whole copy.
I would still image the disk first if the files are really important. Disk Drill can be useful there because scanning an image is safer than scanning the original drive over and over. The honest caveat is that imaging a failing drive can take a long time and may still stress it, so if the drive is making physical failure symptoms, software is not the safe lane anymore.
On CHKDSK, the command matters. People throw around “run chkdsk” like it’s harmless, but chkdsk /f and chkdsk /r are different levels of invasive. /f tries to fix file system errors. /r scans for bad sectors and tries to recover readable data from them, which can be brutal on a weak hard drive. I would not run /r on a disk that is freezing the PC unless I already had a copy of the important files or had accepted the risk.
A repair order I’d be comfortable with would look more like this:
Copy or image first.
Then test the recovered files on another drive.
Then run CHKDSK only after the data is safe.
Then, if the drive seems healthy and you just want to reuse it, wipe it and do a full surface test.
If it shows new bad sectors after that, retire it.
Do not trust a “fixed” hard drive with important files just because Windows mounts it again. Corruption after a bad shutdown is one thing. Corruption plus freezing is enough reason to treat the drive as suspect. Hard drives are cheap compared with repeating this mess later.
Small thing people forget: if the drive is BitLocker encrypted, make sure you have the recovery key before moving it to another PC or trying recovery tools. Without that key, you can make the recovery process much harder even if the hardware is still readable.
So the safest “repair” is really: stabilize the situation, stop writing to the disk, get the data onto something healthy, then repair or replace. If you reverse that order, you may end up with a cleaner file system and fewer recoverable files, which is the worst trade.
Cloud sync can quietly make this worse if it is still running while the bad drive is throwing errors. If your Documents, Desktop, photos, or work folders are inside OneDrive, Dropbox, Google Drive, etc., pause syncing before you start poking around. A corrupted file, half-copied file, or accidental delete can sync upstream and turn a local drive problem into a “why are my cloud files broken too?” problem.
I agree with the recovery-before-repair advice, but I’d be a little more boring about the first move: make a separate place for recovered data before doing anything else. Not another folder on the same drive. Use a different internal drive, external SSD, NAS, or another PC with enough free space. If you only have one working destination and it is almost full, stop and solve that first. Recovery gets messy fast when you are trying to save 900 GB of data into 300 GB of space.
Another easy trap is sorting and opening files on the bad drive “just to see what matters.” That causes reads all over the disk. If the drive is weak, browsing thumbnails, opening videos, searching folders, and previewing PDFs can be harder on it than people expect. I’d copy the highest-value folders first in broad chunks: taxes, projects, family photos, password vaults, exported browser bookmarks, game saves, whatever you cannot replace. Leave Steam libraries, installers, downloads, and media you can get again for later.
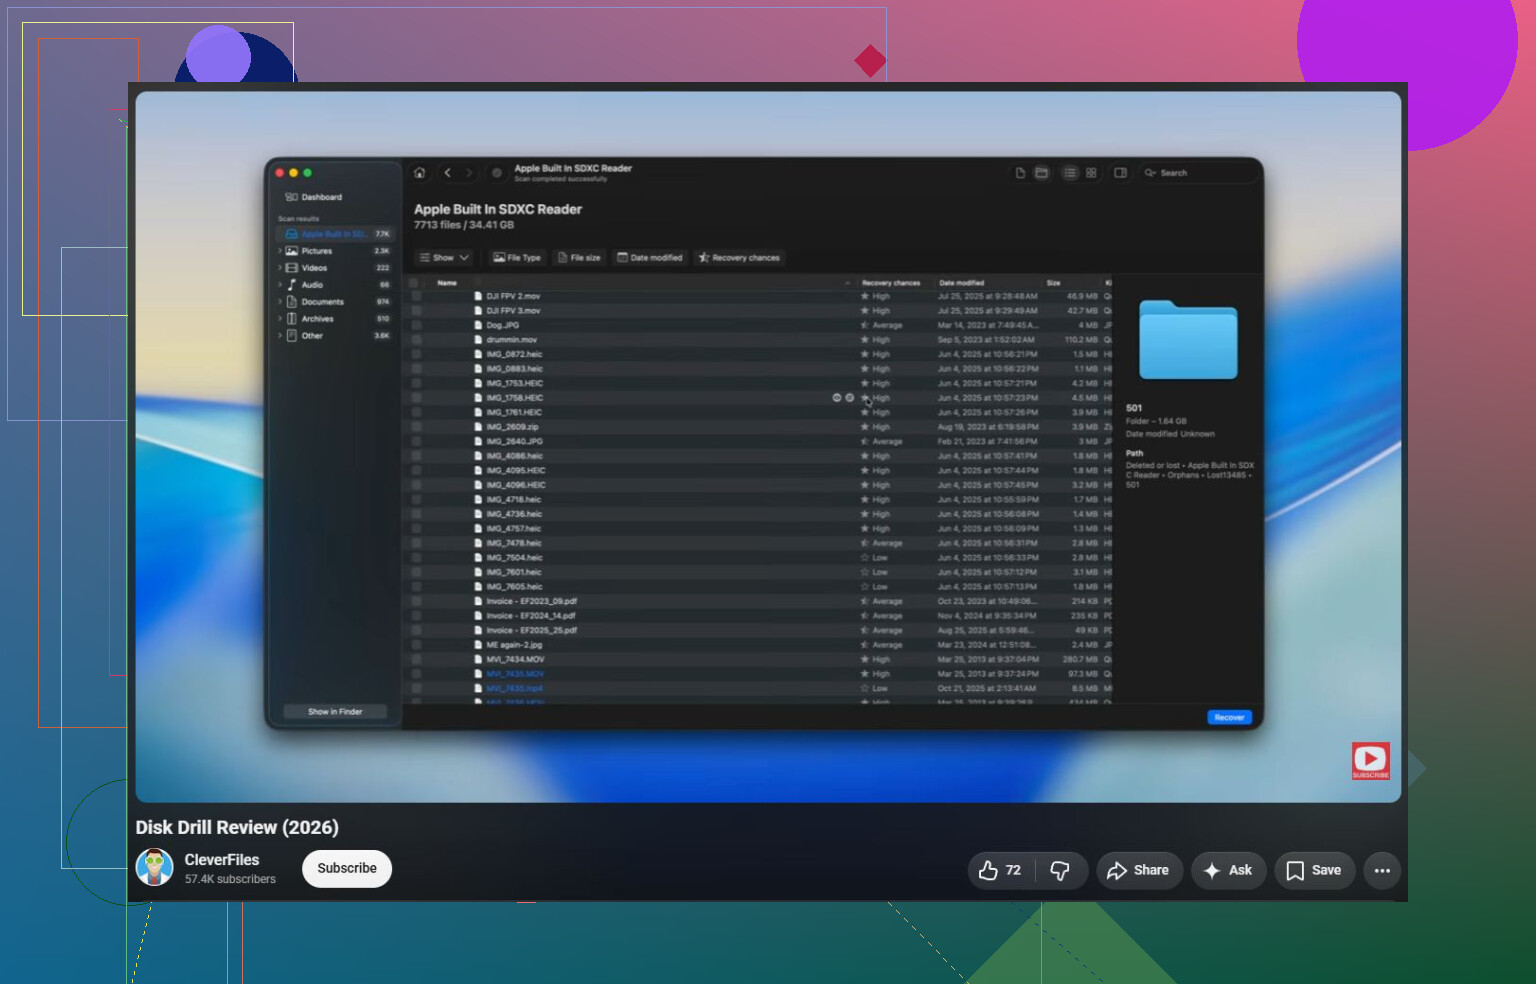
After that, yes, image it if the data matters. Disk Drill is reasonable for that kind of workflow because you can make an image and scan the image instead of repeatedly scanning the original drive. The caveat is that no recovery app turns a physically failing disk into a healthy one. If the drive is clicking, disappearing, showing the wrong size, or freezing the whole system during reads, I would stop treating this like a Windows 10 repair problem.
Only once the important files are elsewhere would I run Windows repair tools. Start with the least destructive stuff: check cables, check SMART, then maybe chkdsk /f if the disk is stable enough and you accept that it will change the file system. I would avoid chkdsk /r until you no longer care what happens to the original disk. If the drive works after repair, don’t celebrate too hard. Use it long enough to wipe it, test it, and decide whether it belongs in the recycle pile. For anything important, assume the drive has lost your trust.