My Mac hard drive suddenly stopped showing up, and I need to recover important files without making things worse. I’m looking for safe DIY Mac hard drive recovery steps, recommended tools, and advice on when to stop and contact a professional.
Deleted files are often not gone right away. In a lot of cases, macOS just removes the file-system entry or changes the way the space is marked. The actual data may still be sitting on the drive until something overwrites it, the controller clears it, or the drive has a physical failure.
So the first thing to do is stop using that drive as much as possible. Normal system activity can write new data without you noticing, including browser cache, logs, swap files, app updates, and other background stuff. Any of that can land on the same blocks where the deleted files still exist.
If it is an external drive, unplug it for now. If the missing files were on your internal Mac drive, keep usage to a minimum and do not install recovery tools onto that same volume. Use another drive if you need to download or run recovery software.
Start with the easy, low-risk places first. Check the macOS Trash. If the files were on an external drive, that drive may have its own hidden trash folder. Open the external volume in Finder, press Shift + Command + Period to show hidden files, then look for the .Trashes folder. If the files are there, you may be able to restore them with “Put Back.”
After that, check Time Machine if you had it enabled. Open Time Machine, go back to a snapshot from before the deletion, select the files you need, and restore them. A backup restore is usually safer than scanning the original drive for deleted data.
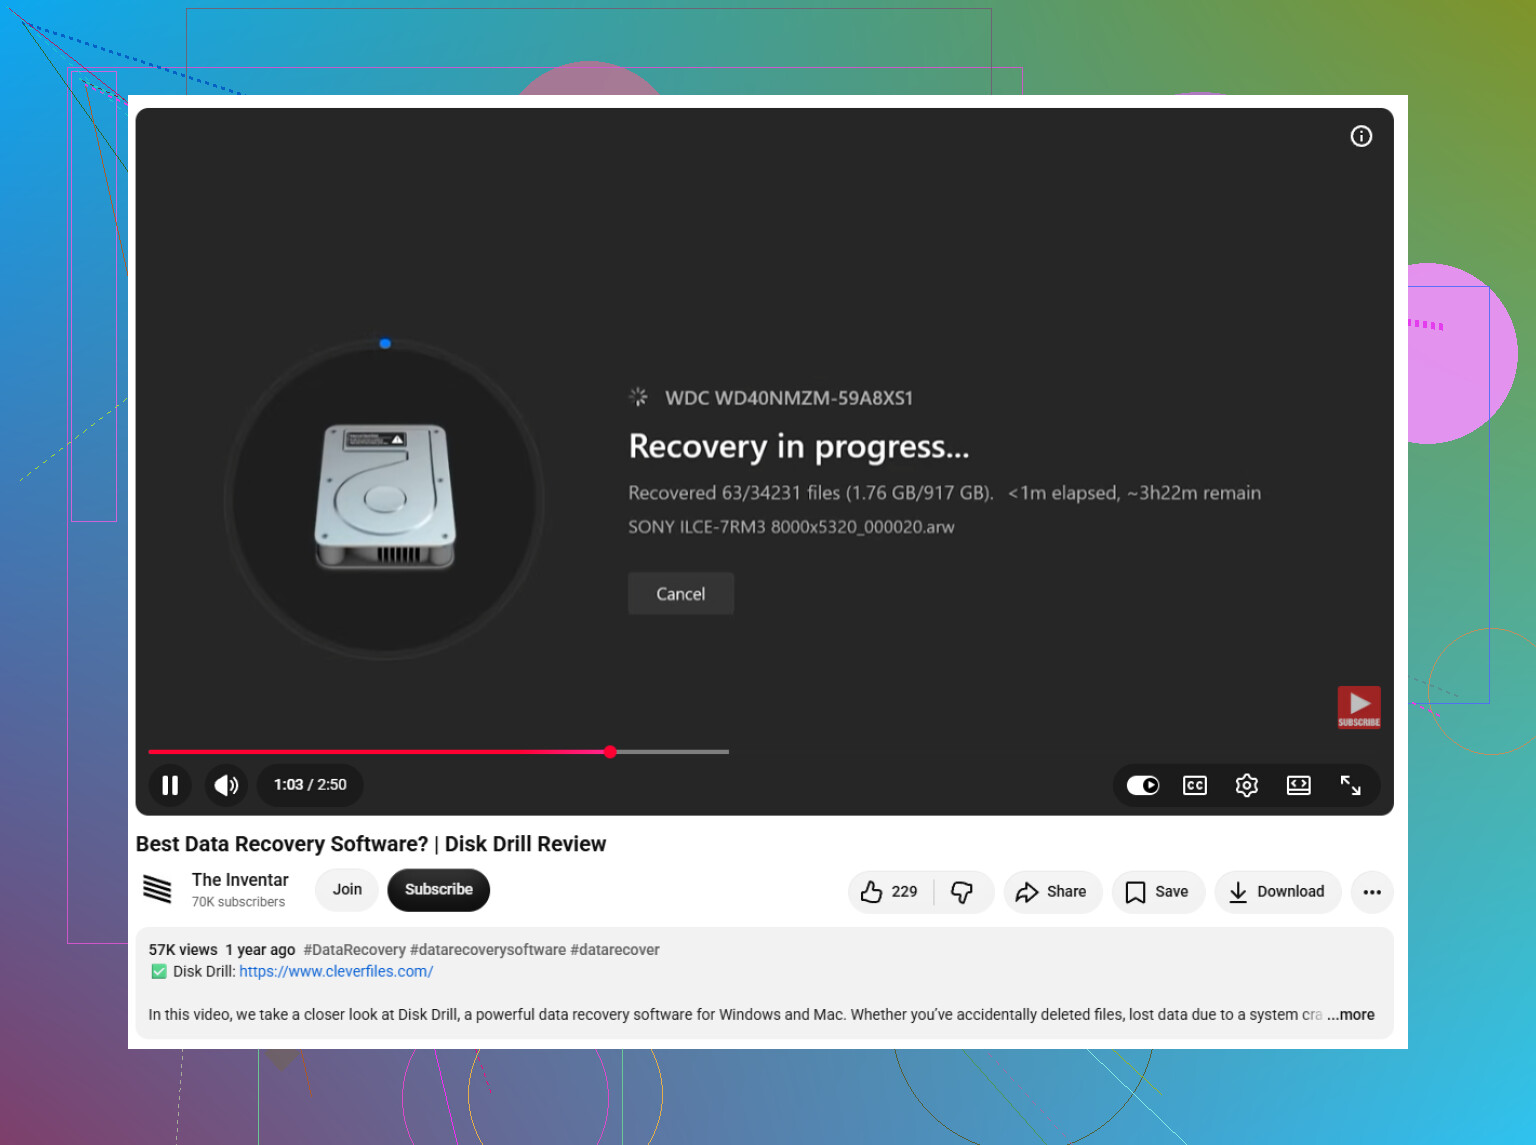
If there is no usable backup, then a data recovery app is the next step. Tools like Disk Drill can scan common Mac file systems such as APFS and HFS+, using both file-system scans and signature-based scans.
Those two scan types work a bit differently. A file-system scan tries to rebuild deleted records, including names, folders, paths, and metadata. A signature scan looks through raw storage for known file patterns. That can still find data when the directory structure is damaged, but the recovered files may lose their original names or folder layout.
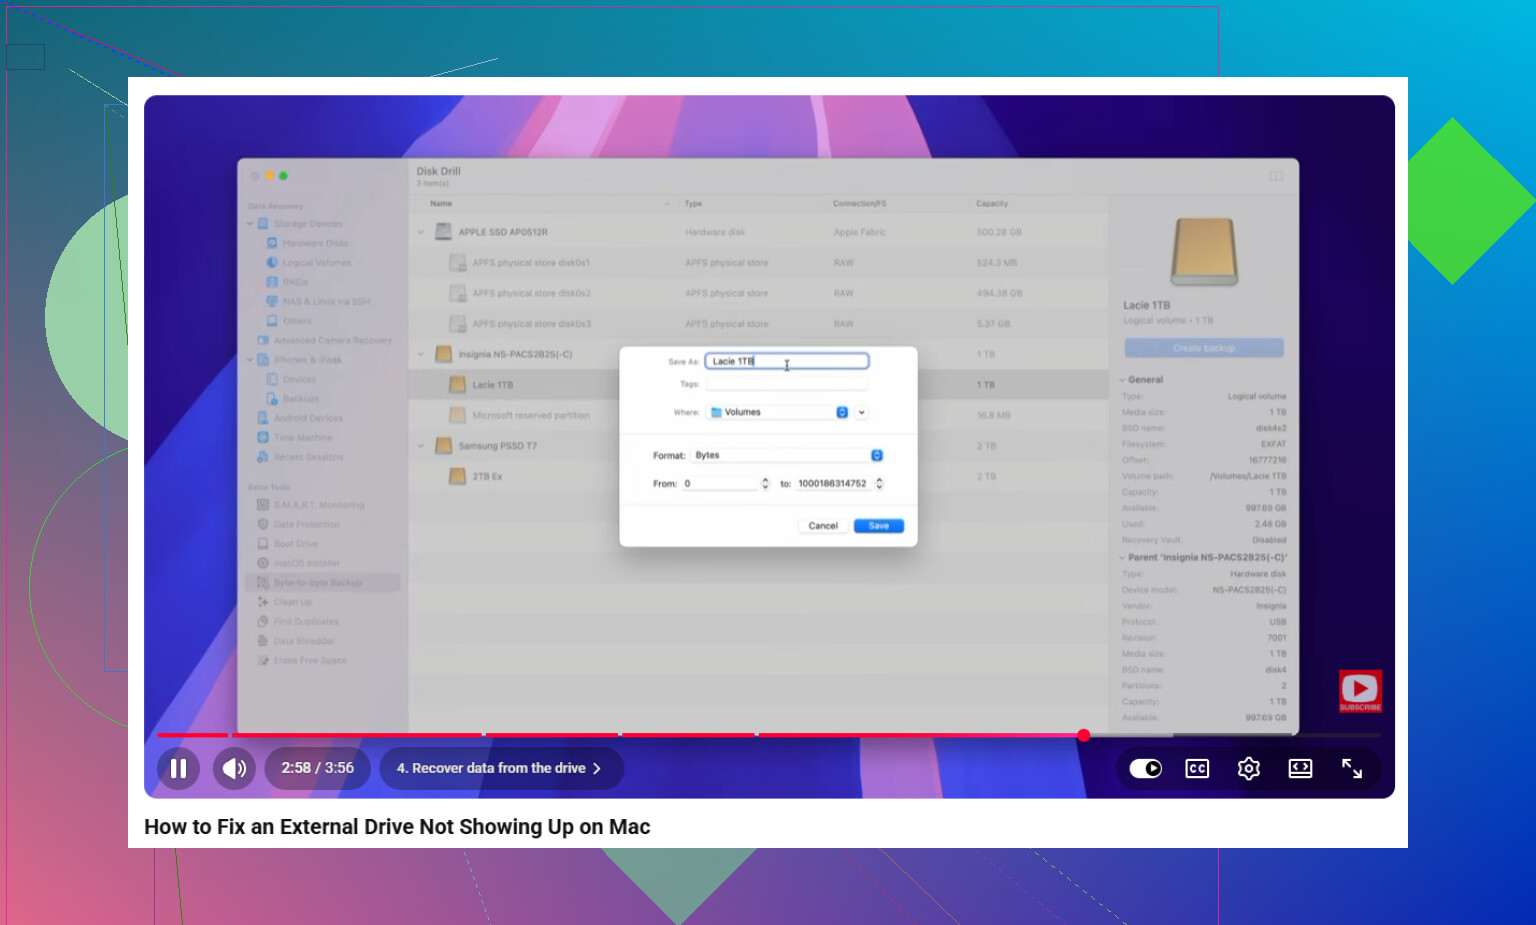
If the drive seems unhealthy, do not keep hammering it with scans. Slow reads, random disconnects, I/O errors, or the drive only showing up sometimes can point to media damage or hardware failure. In that case, make a sector-by-sector or byte-for-byte image first, then scan the image instead of the original drive. That keeps the recovery process from repeatedly stressing failing hardware.
Mechanical warning signs are a bigger problem. Clicking, grinding, repeated spin-up issues, recalibration sounds, or other odd behavior can mean damaged heads, bearings, motors, or platters. Reconnecting the drive over and over or running a long scan can make things worse. If the data matters enough, disconnect it and send it to a professional clean-room recovery service.
When you recover files, save them somewhere else. Do not write them back to the same volume you are trying to recover from, since that can overwrite more recoverable data.
Once you get through the recovery attempt, set up backups so this is less painful next time. Time Machine is good for local versioned backups, and a cloud or off-site backup gives you some protection if the Mac or drive is stolen, damaged, or fails completely. Until then, keep the original drive untouched as much as possible, avoid extra writes, and work from the safest recovery option toward the more aggressive ones.
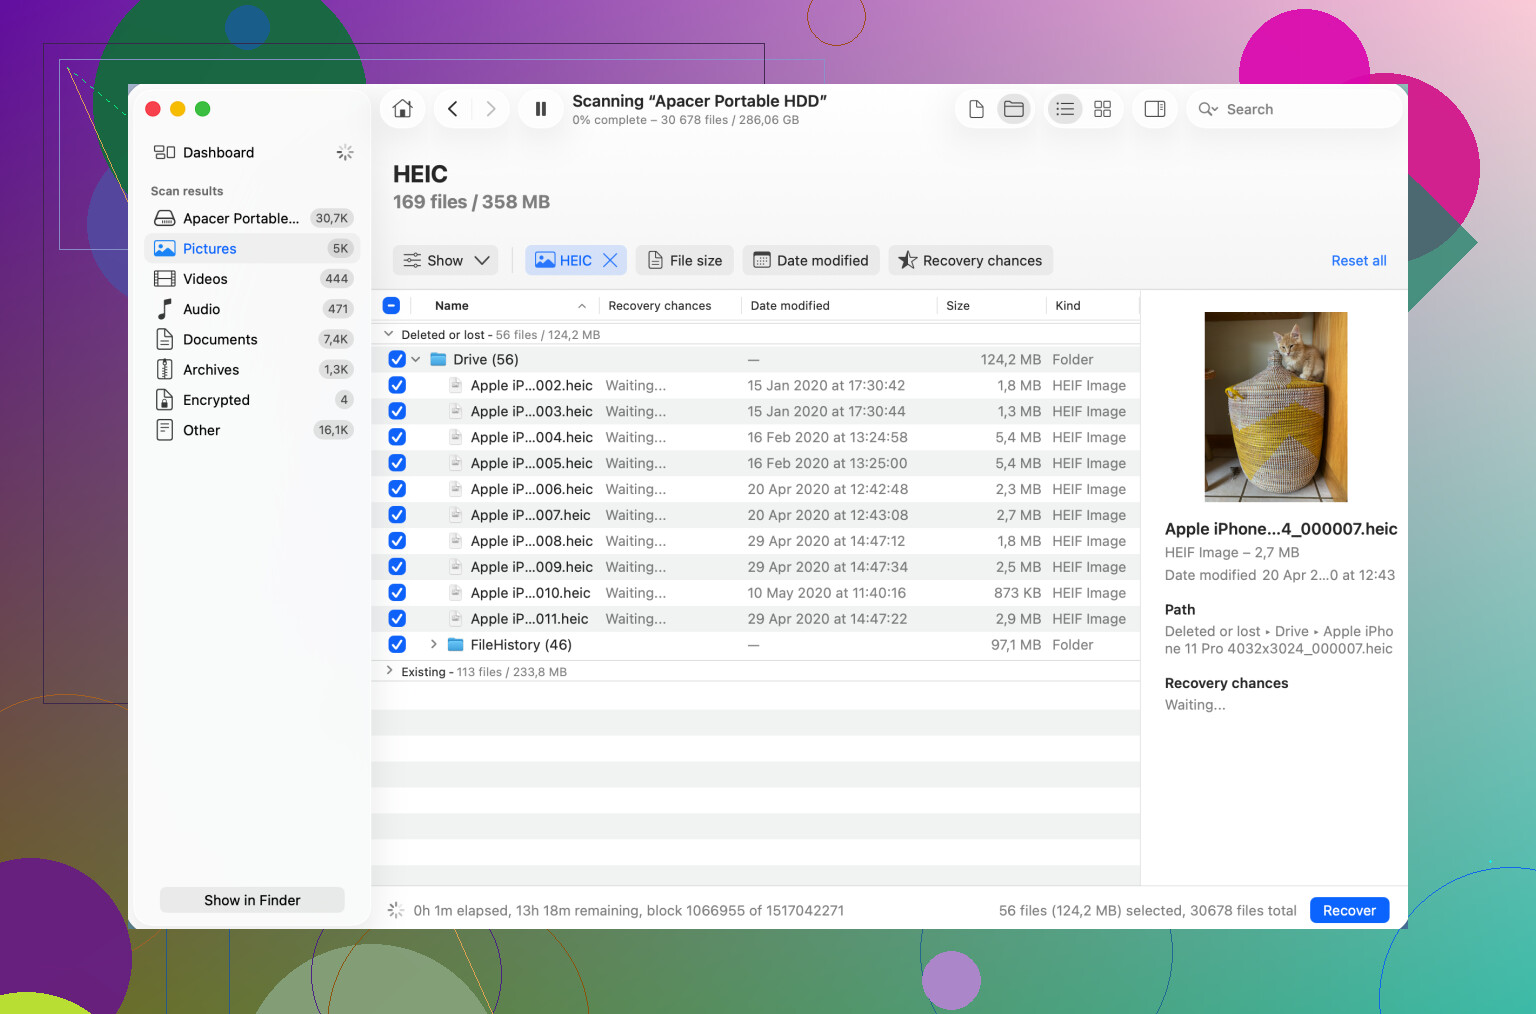
Do not click Initialize, Erase, Repair, or First Aid just because macOS offers it. If the drive is not showing in Finder, first check Disk Utility with “Show All Devices” turned on and System Information under USB/Thunderbolt/SATA to see whether the Mac sees the hardware at all. If it appears there but won’t mount, recovery software like Disk Drill may have something to work with, but recover to a different disk only. If it does not appear anywhere, swapping the cable/enclosure/port is a safer first move than running scans. And if it appears with the wrong size, drops in and out, or makes noise, stop there because that is no longer a normal DIY recovery job.
If this is the internal SSD in a newer Mac, the answer is a lot less DIY than with an old external drive. You usually can’t just pull it, stick it in a dock, and scan it from another computer, especially with T2/Apple silicon Macs and FileVault in the mix. If the Mac still powers on, I’d first try Recovery Mode and see whether the disk appears there, then use Target Disk Mode/Share Disk or restore from Time Machine before running recovery scans. Disk Drill or similar tools make more sense when the volume is visible but damaged, not when the machine can’t see the storage at all. If Recovery can’t see the internal drive, or it asks to initialize it, stop poking at it and treat it as a hardware/logic-board level problem.